First Ride to Sausalito

If you want to get something done, gotta do it yourself.  Lucy’s first ride was a failed attempt to get to Sausalito.  Late start and good day hanging out with friends, but not a great ride.  Woke up early after a night of drinking and thought the best way to start off Saturday was a ride to Sausalito.

Beautiful day.  First sign of trouble was outside the Exploratorium ~5mi mark.  I tried to pass two girls and my right calf  just seized up.   All sorts of nasty, so I kept going and tried to stretch it out.   Eventually eased up a little and ran into a bit of traffic outside Ghirardelli Square.  Special Olympics run of some sort.

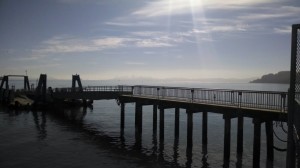
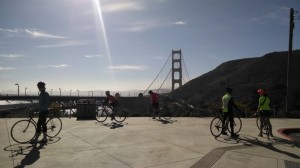
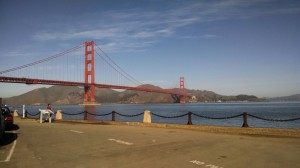
By the time I made it to Crissy Field and stopped to take a picture of the bridge, both legs were starting to twitch and ache.  Probably from dehydration.  And I hadn’t even started the climbs yet.

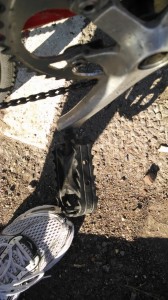
But on the climb, I started to figure out what was wrong – my right pedal was crooked.  I stopped on the far side to take a picture.

Definitely coming out.  But none of my tools could do anything about it, so I just left it alone.

Down to the water and back up over the hill to Sausalito, I missed the Ferry terminal and went little bit too far.  When I stopped to pull my phone out to see where the terminal was, my back started to twitch.   Turning around and riding back to the ferry was awful.  Right calf was screaming and left back was entirely stitched up.   Stubbornly rode through it until I got to the terminal.

Success, made it to the terminal in Sausalito and took the ferry back to Pier 39.

Unfortunately, my neglect of Lucy turned out to be a really bad decision.  Pedal continued to work it’s way out and then it stripped the crank.  Had to walk it to the Bike Kitchen.  Fortunately, $5 got me a matching set of replacement cranks.   And since I replaced both of them, I was able to determine that my old cranks were not a set – one was 170 the other was 175.   Might explain why things were so unbalanced.   Lucy is just a little bit better now.

2014 Bicycle Project

image

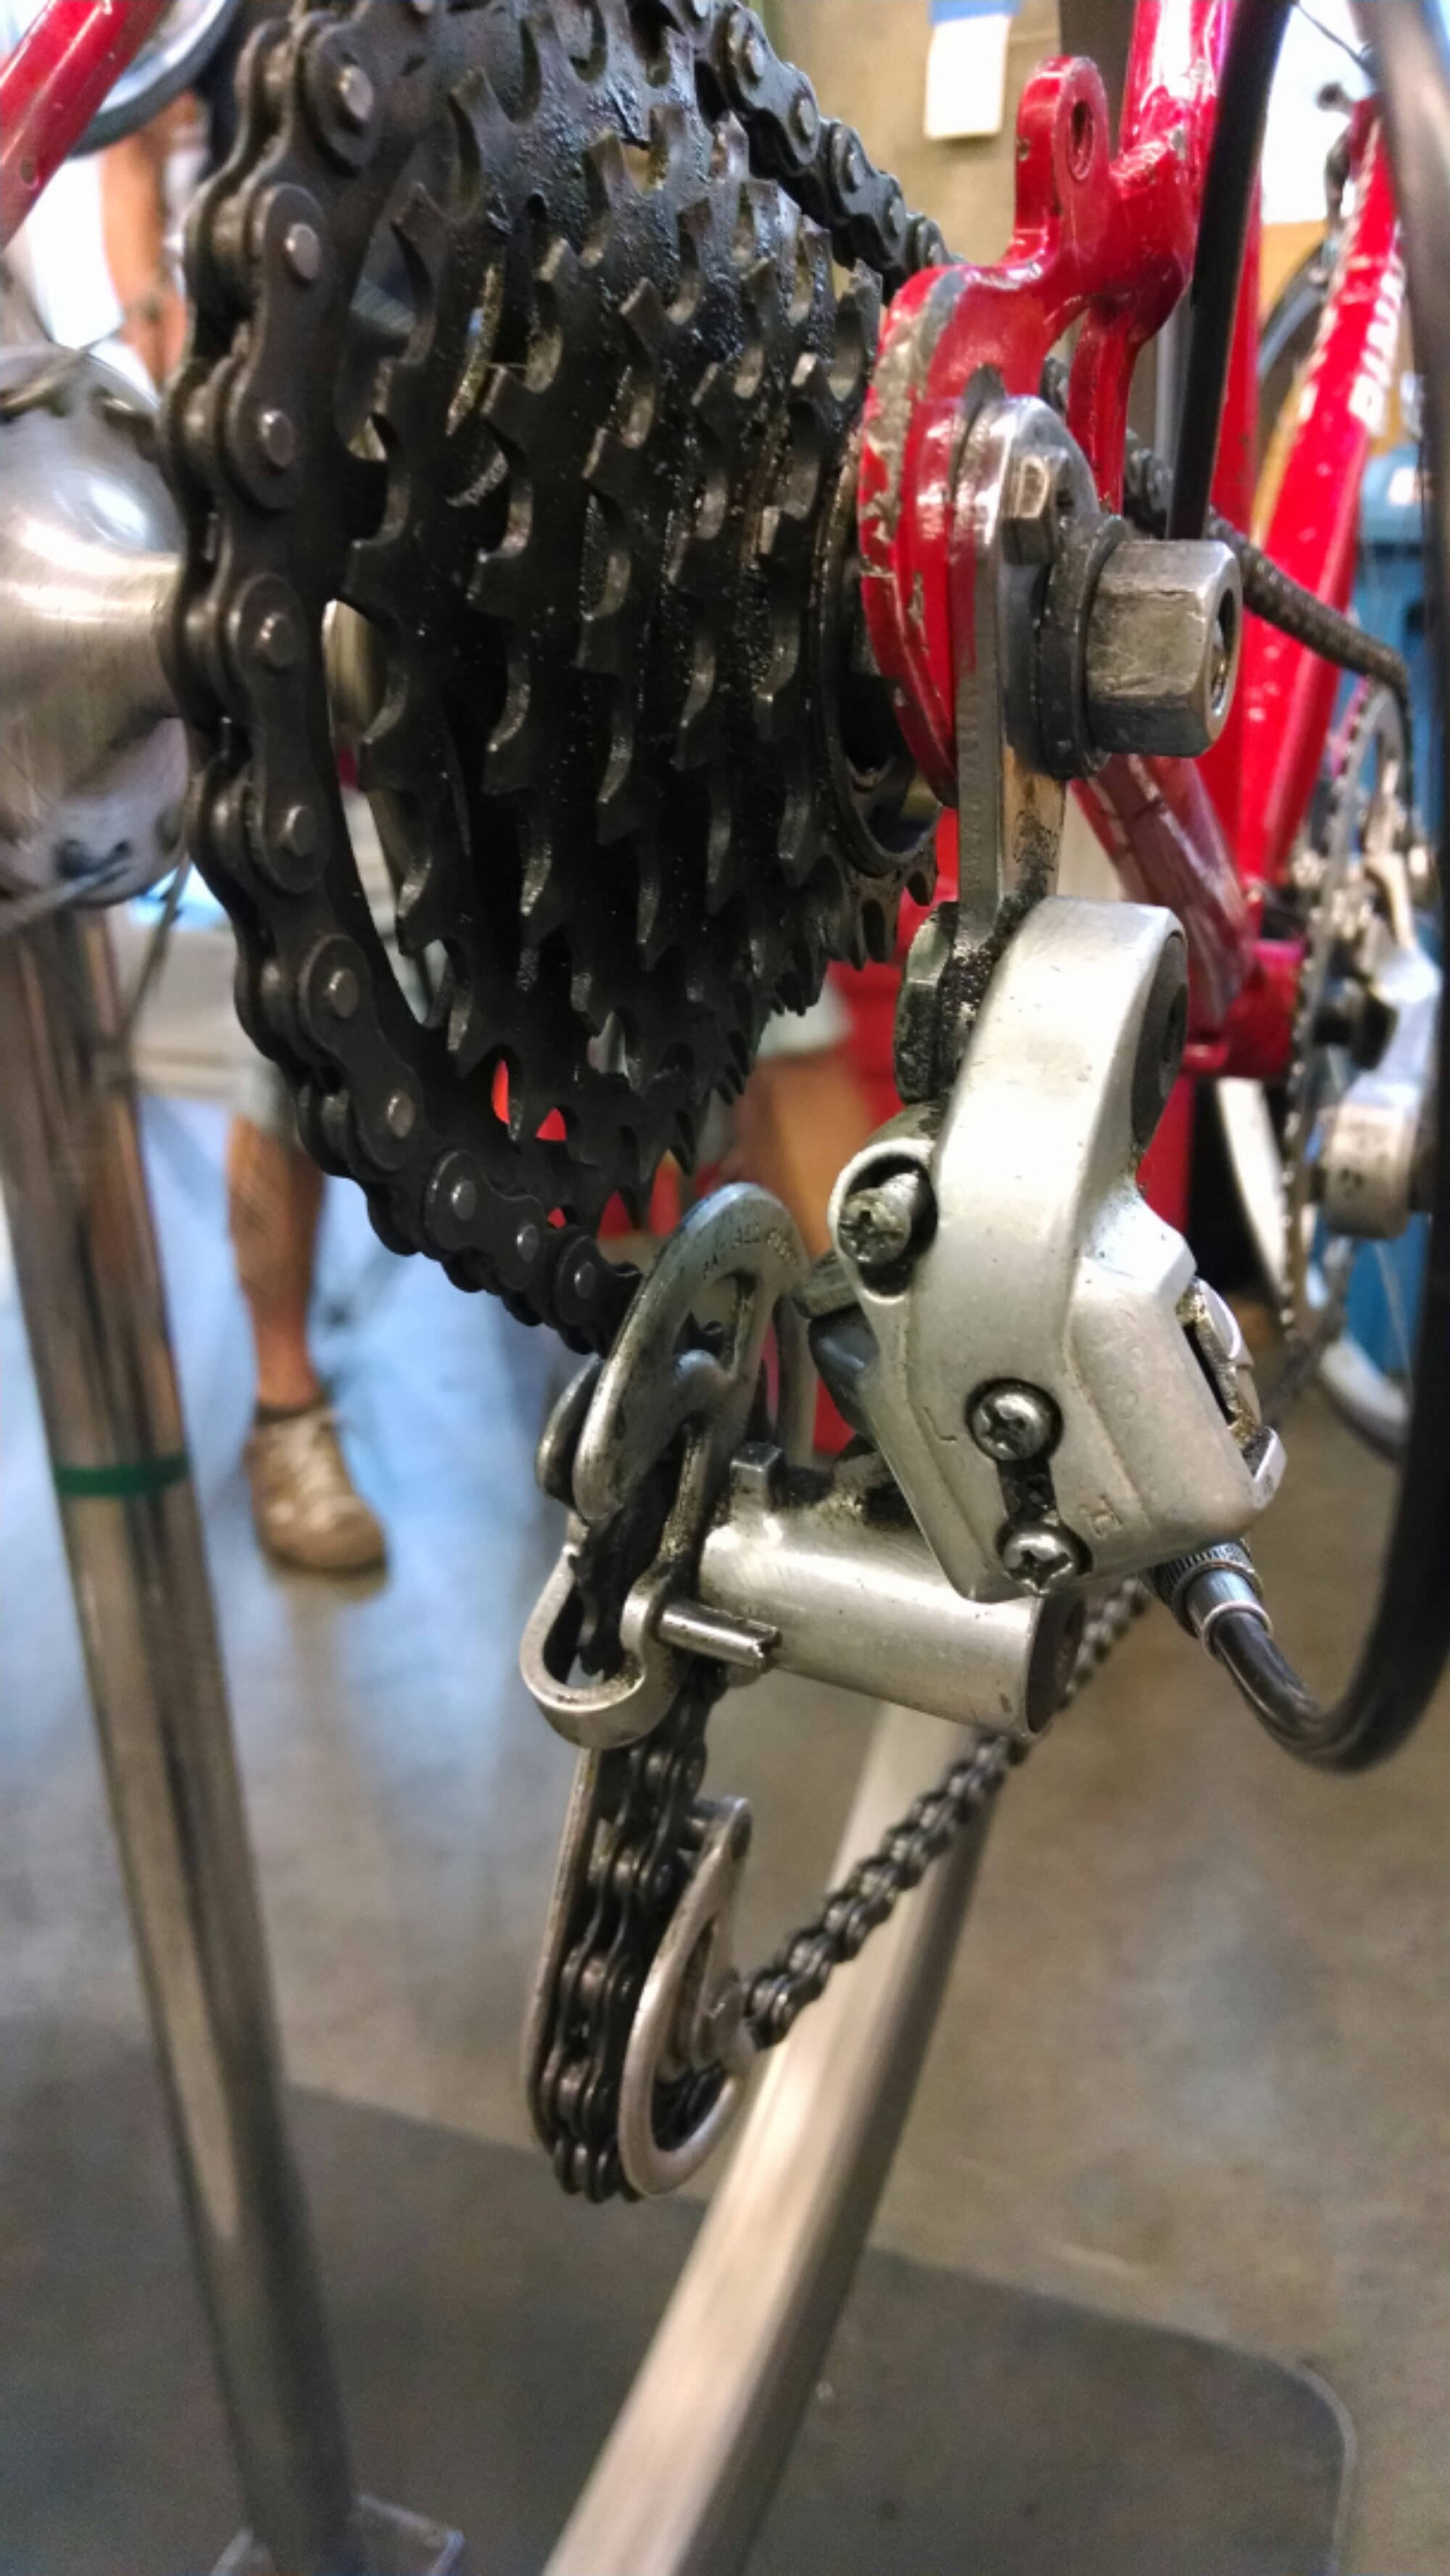
Another day mucking about with the rear derailleur.   Mildly frustrating day without too much progress.   Spent a bunch of time hunting for a new shifter and replacement cables.   Eventually just gave up and bought 2 lengths of shifter cable housing in an attempt to eliminate possible shifting problems.

By the end of the day, the bike was rideable.  It was possible to get into and stay in all the gears, even if it wasn’t all that smooth.  Gave it a second thought to take it home for the weekend, but figured it was still rather sketchy.   I should clean up at home so that there is a place to put the thing too.

Hoping to have a functional bike soon!

2014 Bicycle Project – Day 5 & 6 – Brake Lines

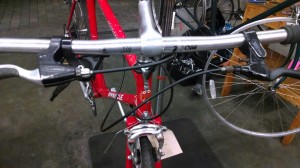
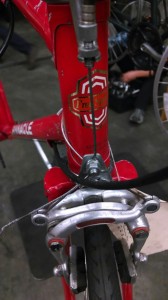
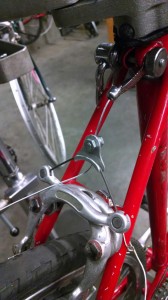
So having mostly sourced the parts the day before, this day was mostly about putting them on.  The best bet I could find for the front centering mount didn’t fit – they key was too big for my headset and everything was rather bent out of shape.   Spent a good chunk of time twisting it into something reasonably straight and making the adjustment fit.

Rear Brakes:

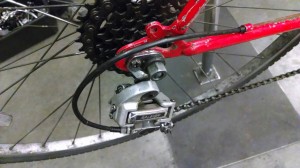
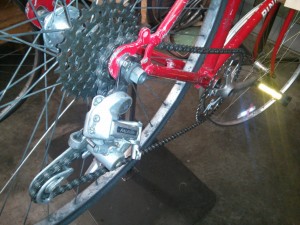
Rear Derailleur:

So I now have brakes and gears – sort of.   Can’t actually reach the high/low gears.  But I can ride it!

All in all, mostly an exercise in hunting for parts.  In retrospect, probably not worth my time.  The rear shifting is most likely off because of some bad cable housing and a pretty mangled shifter.  Next day will have to be spent on replacing the bad housing and replacing the shifter.

2014 Bicycle Project – Days 4 – Seat, Tire and Brakes

Day 4 – Seat, Front Tire and Brakes

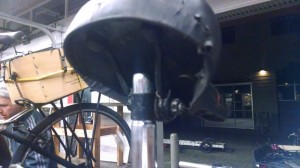
Since the seat I had claimed earlier was rather bent, I swapped it out for another one.    Can’t say I’m a big fan of the mounting system for seats.   Keeps them adjustable but rather difficult to work with.

And now that there was actually stuff on it, I was told to put a tire/tube on it before I damaged the rim.  Done!

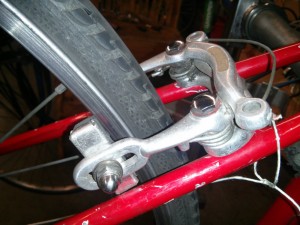
And with the wheel on, I could tell that my front brakes were really bent out of shape.  Spent some time finding a matching set that seemed functional.   The rest of the evening was spent looking for parts to make the brakes work.  The frame I had did not quite support the brakes – no centering mounts.   Plenty of time was spent digging in the back room to find something suitable for work the next day.

2014 Bicycle Project Day 3

Another bike evening!   In an attempt to get a good chunk of work in, I went directly from the Potrero and 18th stop to the Bike Kitchen.  The timing’s not bad, get there just as they’re opening up.  Volunteers get organized and then they check people in.   Not super strict on time, but it helps with the relaxed atmosphere.  I set up away from the back corner this time.  Much nicer, less foot traffic going past me.  But it was still close to the door and rather chilly.

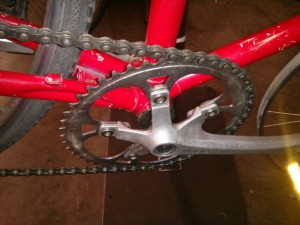
The goal for the day was to get the drivetrain running.  Picked up a few pieces of chain, strung them together to figure out how much chain I needed.  The volunteer pointed out that my front sprocket was actually fairly worn out and if I was going to the trouble of finding a chain anyway, I might as well choose a better one first.   Some discussion on ring size, but since I was sticking to a single gear up front for now, middle of the road and I ended up with a 48.

Putting it all back together, I managed to pick a length of chain that actually fit on the first try!  Put it on with a loose fit before checking things with a chain tool.  Handy little thing to check if the bushings inside the chain have worn out without actually having to measure it.  It’s nice to have access to their tools.

After that, I didn’t manage to get anymore help.  So I decided to keep myself busy with adjusting and putting on things that were less complicated than putting on a shifter.  So I tried adjusting the brake pads to fit the 700 wheel.  Back one adjusted just fine, but the front brakes were rather bent.  Had to try a few before finding one that fit properly.

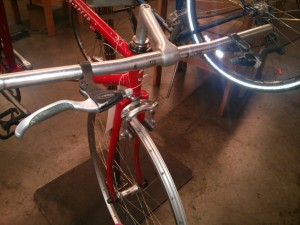
I also repurposed a bolt for handlebar and I also track down some brake levers that didn’t look too bent and mounted those as well.

Looking more and more like a bike!   But it was a rather chilly night and I was getting hungry so I took off a little after 8pm.  I think it also helps to avoid the cleanup rush. But next time I think I’ll want to pack a beat up old hoody and some of my own tools.

2014 Bicycle Project – Days 1 & 2

Of the physical things lost as part of my move to California was my access to single track vehicles.  My bicycle was lost in shipping and Mendy is still waiting on paperwork issues.   Both of which I plan on resolving this year.   But since Mendy requires a trip to the DMV, the more practical thing was to work on getting a new bicycle.  I had considered just buying new bike, but since everyone says that SF is a terrible place to own a nice bike – they all get stolen, I tried to source a cheap one.  Unfortunately, to be able to shop for a bicycle, you kind of need to know something about them.  Not exactly one of my strong points.

Enter the Bike Kitchen – I had heard of this place in at MakerFaire, It had seemed to be a bit of a hacker dojo for bicycles – common space to work on bicycles and learn from others.  But I had pretty much forgotten about it until a friend needed something fixed on his bike and went there to get it done rather than dealing with a traditional bicycle shop.  I went to check things out in Dec, but never really got around to doing anything since I was about to head back to Vancouver.

New year, new project!  It’s actually quite nice because it should scratch all sorts of itches:

  1. Build/Work on Something – condo/apartment living is a mild nuisance for a casual grease monkey such as myself.  It wasn’t so bad in Vancouver since I could go back to my parents’ or friends’ places to work on vehicles or help out.  It’s not like I was going to seriously invest in a project anyway, but having the option to do something was nice.  No such network here, so a (small?) project with a clear benefit would be nice.
  2. Obtain a cheap bike – this might be a false benefit since if I put in a lot of sweat, I might be even more upset about losing it than one I just paid for…
  3. Learn something – I don’t know much about bicycles, but gotta start somewhere.  I’m not the best ‘book’ learner anyway, a project is the best way for me.
Day 1:
So, Jan 2nd, I went over, paid my membership dues for the year and bought some digging rights and browsed through a bunch of frames on the walls.  I spotted a nice read Pinnacle, tagged it with my name and considered it a good start.
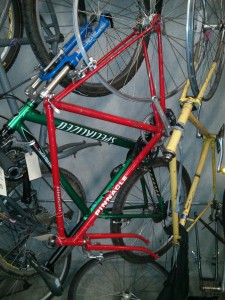
Pinnacle FS 10speed Frame


Day 2 – Actual work on the bicycle.

I got there bright and early on a Sat, 15mins or so before they opened to make sure I would get a spot.  After some waiting, I was first in line after the volunteers and managed to get myself a stand.  A good few hours to work on it… But no idea where to begin.  No front wheel, so I figured I should start there, right?

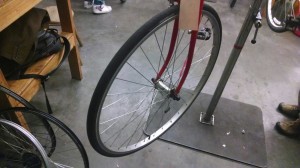
Lots of semi confused wandering, trying out various wheels and finding that none of them ‘fit’ the front forks.  Eventually just gave up and asked one of the volunteer mechanics for help – Elijah suggested that wheels were a good place to start, but considering it was an older frame that it might fit 27″ wheels instead of 700c.

Lesson 1:  27″ vs 700c

So it seems that older bikes in the USA and UK had 27″ wheels.  Generally, these were not very good quality bicycles and as racing became bigger, the good bikes from Europe became a bigger deal.  So the metric system started making inroads and is basically the new standard.  Choose 700c over 27″ wheels if possible.  Newer wheels and tires will be easier to get, but need to consider fit and brake distance/leverage.

I managed to find some matching 700c wheels, tried to fit them on the bike and realized that they still didn’t really fit – the back frame was most likely crooked.  Elijah dragged an older mechanic over and he pointed out that I should fix the frame, find a proper set of wheels and to widen out the frame enough to fit something appropriate – from 5 gears to 6 or 7, and that I should look for cassette for the ‘bigger’ sizes.

Lesson 2 – Freewheel vs Cassette

Good article here – http://sheldonbrown.com/free-k7.html.   Basically, freewheel was the old style and more work to swap out sprockets.  Since the ratchet mechanism tends to last longer, the Cassette system allows you to replace just the sprockets multiple times before needing to deal with the internals.

Cassettes tend to show up with newer bikes and more gears.  What I was looking for would have some overlap.  I ended up with a 6-gear freewheel.
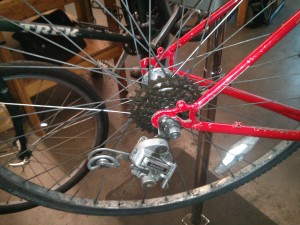
I had to straighten the frame with the ‘candlesticks’ before being told to look for a ‘hanging derailleur’.  No idea what that was or how to compare which ones were better.   Apparently, the important thing was to make sure all the little parts were attached(half moon plate for mounting the derailleur being the key).

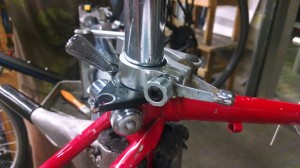
Got that attached and put on some pedals and some handlebars too:
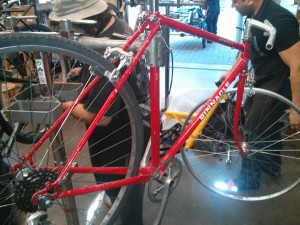
 

All in all, a good few hours of work.  A very humbling experience overall – I had no idea where to begin and the volunteers were very nice.  I managed to get dirty a little bit and I’ve already injured myself – pinched my finger between the bike and the stand:

So no actual blood drawn and no tears, just a bit of sweat so far.  No idea how long this project will actually take, but rather satisfying so far.  Visible progress, some lessons learned.  About the only reservation may be that since I am working with such an old frame, when I finally do pick up a ‘real’ bicycle, I’ll have to learn about a different set of components.
Testing out Dreamhost

Time to switch away from my previous hosting provider – 1&1.  Service has been great and the package we picked up years ago is actually pretty good for some things, but definitely had some issues that made it less than ideal.  Two issues in particular made life annoying:

– Custom DNS:  They verify that the DNS is properly configured and then take down your site mapping if it’s not.  This saves them resources, but my DNS provider(Enom) uses round robin DNS configuration.  This meant that the few entries I provided to 1&1 would never match up and the site would get taken down eventually(30 days?).   Usually not a big deal to put back up and resume the cycle, but a nuisance.

– Memory/Performance Limitations:  Whatever grandfathered package we had from years ago comes with more domains, but less performance.  Essentially not enough memory to resize photos on the server and general site performance was less than ideal.  I ended up having to create a custom build of the WordPress App for the 2012 trip.  It was also generally slow to respond and frustrating to use.

Hopefully Dreamhost solves these problems for a minimal extra cost.

Focused Meandering in 2014

Happy 2014 everyone!

It’s been a long time since I’ve been able to focus enough to write something for my blog. As a ‘travel’ blog, I didn’t really have anything to write after my 2012 trip. And picking up a job with Google meant that my slacker days would have to come to end. Unfortunately, not spending the time to reflect meant that my mission statement to meander was no longer ideally suited to the realities of my life.

Focusing on leaving your schedule unstructured as possible and drifting on a multi month road trip is one thing; trying to that at a new job when I have some severe workaholic tendencies is another. Not having deadlines for my personal goals led to procrastination and an unhealthy default setting of work. From a professional standpoint, it’s been nice to know that I still have it in me. That after months of unemployment/travelling and coasting at my last job for the better part of a year, I was still capable of long hours and late nights. If I had done it only for the money, I don’t think it would have been worth it. But the ability to move forward into 2014 and have the confidence knowing I can do it and choosing otherwise for personal reasons will be a nice change.

My resolution for 2014 will be to make commitments to get work/life balance. Meandering will become more about enjoying the moments rather than full on mission statement. In the context of a more structured life, I think meandering will still bring value. Like a leaf swirling in an eddy, I’ll spin around in the moment before being popped out to continue the rest of my trip downriver.

Travel Blogging

Looking over the Meander 2012 Summary, it’s been rather interesting to see it develop – and deteriorate.  I’m sure this has been said many, many times: writing is a lot of work.  I’m also well aware I’m not very good at it.  But I couldn’t see any better way of remember the trip.  What started as a way to reduce duplicate work turned out to be a good experience.

I started it as much to provide a method of communication so people back home would know I was okay and still alive.  How I wrote and what I wrote about wasn’t as important as some sort of update.  Being out west, data coverage was a little spotty and the key was just to get something out there.

But a road trip does not lend itself very well to writing regularly.  You really do have to make time.  I got pretty sick of setting up, tearing down and packing almost every single day and adding extra time at the end of the day to write wasn’t very high on the list of priorities in the beginning.  I just wanted to get something up and move on.

But the process of reviewing the day really did make the experience richer.  On a trip with as many stops as this one, days quickly blur together.  I recall a few times where I would need the photos and the GPS tracks just to be able to fill in the gaps.  Deciding what to include throughout the day gave a little extra hook to make things just a little more memorable.

Photos with GPS information and the GPS tracks were very valuable in piecing the days back together.

Parking Lot Salmon

Cleaning stuff out of my parent’s place took much longer than anticipated.  I was starving, so on my way back downtown I swung by Church’s Chicken.  Armed with a BOGO coupon, I was going to order 2 Guacamole Wraps wolf one down and head home to unload the car.

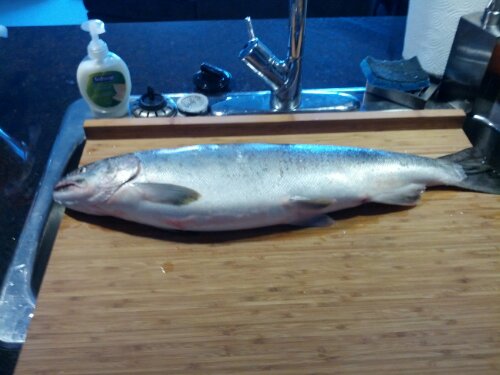
But since it was later in the afternoon, they had to make my wraps and I had to wait a few minutes.  I had seen the pickup truck when I pulled into the parking lot, but hadn’t paid it much mind.   Standing around, I noticed a steady stream of people going up to it and walking away.   The manager mentioned they were selling fish and I went out to check it out.

$15 for a large and $10 for a small – I got one of the larger ones and took it home.   Impulse purchase – I didn’t even ask what kind of fish!

image

Worst part of getting a freshly caught fish – scaling and cleaning.  Used the cleaver to scrape off the scales – they got everywhere!   Should really do this kind of thing outside.

image

Much to my surprise, the fish was full of roe.   Pulled that out and proceeded to fillet.   I love my chinese cleaver, but it really is not very good at filleting fish.  I suppose that’s why they sell fillet knives!   Pretty sure this is the second fish I’ve ever prepped, so I don’t think it’s a bad job:

image

Things for the future:  1)  Buy some needle-nose pliers.   Pin bones are enough of a bitch to pull out without tools that are coming apart on you.  2)  Buy/acquire a fillet knife

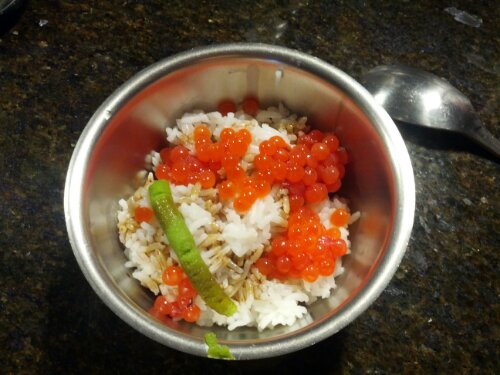
I was starving by the time I was done.  Fortunately, the rice I had put on was done.  I cut some roe out of the lump, put it on rice with wasabi and soy sauce:

image

To be honest, not all that good.  Very rich but kinda stringy.  Usually, when I make things at home, it’s at least as good as your average restaurant.  This was far from even an Ikura Don from a crummy japanese restaurant in Vancouver.  Since it wasn’t all that great and I had a lot of it, I went online to figure out how long it would keep and how to prep it.

So I learned that Ikura isn’t just roe – it’s prepared/brined.  That’s why you get the awesome salty flavour as they pop in your mouth.  The skein holds the eggs together and needs to be separated.

My method:

1)  Soak in hot salty water – hot to the touch.  For me, this was just hot tap water.  The eggs will change colour and go a little opaque.  The internet said not to worry, this just toughens up the eggs up since you’ll need to be a little rough with them to separate them from each other and the skein.

2)  Once separated, rinse gently to get rid of any stringy bits.   Add a teaspoon of non iodized salt(ideally sea salt) and mix.   Put in fridge for 30mins.

3)  Add another half teaspoon of salt, mix and then pour into a sieve and let stand in the  fridge for an hour.

Finished Product:

image

This really was good.  Very happy with it.   I froze one fillet and the other skein of eggs for another day.  This still left me with the head/spine.  Normal thing to do when you have a resource like this is to make stock.   Unfortunately, salmon is really too strong tasting to make into stock that’s much use for anything that doesn’t taste like salmon.

I threw everything in a pan, roasted it in the oven for 30 minutes before putting it in a pot with browned shallots, ginger, garlic and a carrot.  Adding a can of tomatoes made a very tasty soup.   But not entirely thinking clearly, I had included all the bones – including the tiny pin bones.  This ended up producing a very dangerous dish.  Lots of things to choke on.  Next time, I’ll still stick to the formula – make stock from the bones/scraps.  Strain/filter and then make soup with that.  But considering how much meat I have in the fridge/freezer, it’ll be a while before I do this again.

Learned a few things so not the disaster it could have been.   I’d say it was $15 well spent.