Of the physical things lost as part of my move to California was my access to single track vehicles. My bicycle was lost in shipping and Mendy is still waiting on paperwork issues. Both of which I plan on resolving this year. But since Mendy requires a trip to the DMV, the more practical thing was to work on getting a new bicycle. I had considered just buying new bike, but since everyone says that SF is a terrible place to own a nice bike – they all get stolen, I tried to source a cheap one. Unfortunately, to be able to shop for a bicycle, you kind of need to know something about them. Not exactly one of my strong points.
Enter the Bike Kitchen – I had heard of this place in at MakerFaire, It had seemed to be a bit of a hacker dojo for bicycles – common space to work on bicycles and learn from others. But I had pretty much forgotten about it until a friend needed something fixed on his bike and went there to get it done rather than dealing with a traditional bicycle shop. I went to check things out in Dec, but never really got around to doing anything since I was about to head back to Vancouver.
New year, new project! It’s actually quite nice because it should scratch all sorts of itches:
- Build/Work on Something – condo/apartment living is a mild nuisance for a casual grease monkey such as myself. It wasn’t so bad in Vancouver since I could go back to my parents’ or friends’ places to work on vehicles or help out. It’s not like I was going to seriously invest in a project anyway, but having the option to do something was nice. No such network here, so a (small?) project with a clear benefit would be nice.
- Obtain a cheap bike – this might be a false benefit since if I put in a lot of sweat, I might be even more upset about losing it than one I just paid for…
- Learn something – I don’t know much about bicycles, but gotta start somewhere. I’m not the best ‘book’ learner anyway, a project is the best way for me.
Day 1:
So, Jan 2nd, I went over, paid my membership dues for the year and bought some digging rights and browsed through a bunch of frames on the walls. I spotted a nice read Pinnacle, tagged it with my name and considered it a good start.
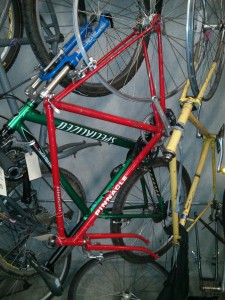
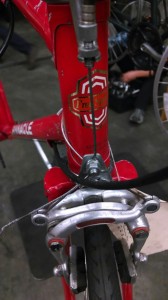
Pinnacle FS 10speed Frame
Day 2 – Actual work on the bicycle.
I got there bright and early on a Sat, 15mins or so before they opened to make sure I would get a spot. After some waiting, I was first in line after the volunteers and managed to get myself a stand. A good few hours to work on it… But no idea where to begin. No front wheel, so I figured I should start there, right?
Lots of semi confused wandering, trying out various wheels and finding that none of them ‘fit’ the front forks. Eventually just gave up and asked one of the volunteer mechanics for help – Elijah suggested that wheels were a good place to start, but considering it was an older frame that it might fit 27″ wheels instead of 700c.
Lesson 1: 27″ vs 700c
So it seems that older bikes in the USA and UK had 27″ wheels. Generally, these were not very good quality bicycles and as racing became bigger, the good bikes from Europe became a bigger deal. So the metric system started making inroads and is basically the new standard. Choose 700c over 27″ wheels if possible. Newer wheels and tires will be easier to get, but need to consider fit and brake distance/leverage.
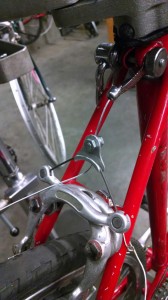
I managed to find some matching 700c wheels, tried to fit them on the bike and realized that they still didn’t really fit – the back frame was most likely crooked. Elijah dragged an older mechanic over and he pointed out that I should fix the frame, find a proper set of wheels and to widen out the frame enough to fit something appropriate – from 5 gears to 6 or 7, and that I should look for cassette for the ‘bigger’ sizes.
Lesson 2 – Freewheel vs Cassette
Good article here – http://sheldonbrown.com/free-k7.html. Basically, freewheel was the old style and more work to swap out sprockets. Since the ratchet mechanism tends to last longer, the Cassette system allows you to replace just the sprockets multiple times before needing to deal with the internals.
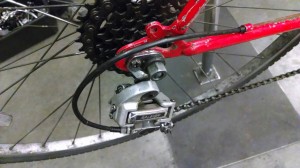
Cassettes tend to show up with newer bikes and more gears. What I was looking for would have some overlap. I ended up with a 6-gear freewheel.
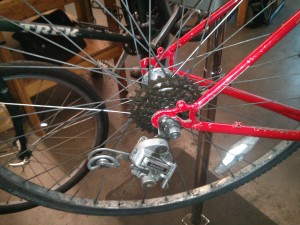
I had to straighten the frame with the ‘candlesticks’ before being told to look for a ‘hanging derailleur’. No idea what that was or how to compare which ones were better. Apparently, the important thing was to make sure all the little parts were attached(half moon plate for mounting the derailleur being the key).
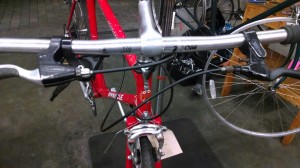
Got that attached and put on some pedals and some handlebars too:
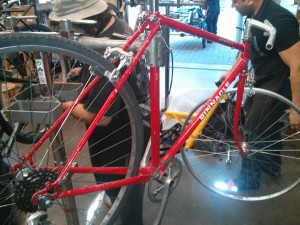
All in all, a good few hours of work. A very humbling experience overall – I had no idea where to begin and the volunteers were very nice. I managed to get dirty a little bit and I’ve already injured myself – pinched my finger between the bike and the stand:
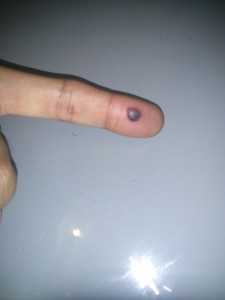
So no actual blood drawn and no tears, just a bit of sweat so far. No idea how long this project will actually take, but rather satisfying so far. Visible progress, some lessons learned. About the only reservation may be that since I am working with such an old frame, when I finally do pick up a ‘real’ bicycle, I’ll have to learn about a different set of components.


